
 by Steven D. Johnson
Racine, Wisconsin
This month:
•
The Ultimate Miter Saw Work Station – Building The Top
•
Rag-In-A-Bag...The Controversy Continues
•
New Use For A Great Product
The Ultimate Miter Saw Station – Stage 1 - Building The Top
A lot of smart folks advise building projects in a logical sequence. For example, they recommend building cabinet face frames first, since they take little room, then build the boxes last. They advise building the undercarriage of a table first, so there is a place to put the top while working on it. It may have been more logical to build the support cabinets/pedestals of the miter saw station first, but I figured the top would be a bit more complex, and I was anxious to get going.
|
|
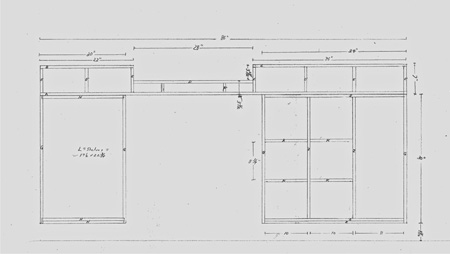
Figure 1: Click on the plan to enlarge
|
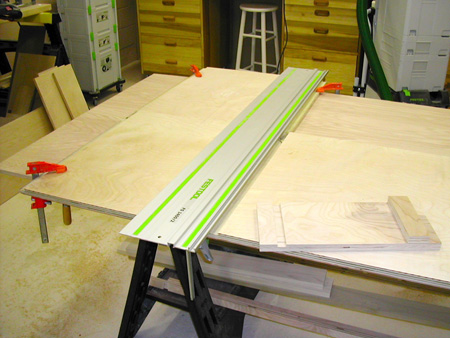
The design does not look overly daunting, but I am absolutely fanatical over the location of dados and seek absolute "squareness" in everything. In order to make sure the dados (or in a couple of cases, rabbets) lined up between the top and bottom components, I clamped the bottom (A) and the two top pieces (B & C) in perfect alignment on a dead flat surface and routed them together, much as you might rout the two sides of a bookcase together. Similarly, after the dados and rabbets in the two top pieces were routed, I then clamped the top of the saw deck (Part D), registered in position with the bottom piece, and routed the dados for the vertical support pieces there, too. The combination of the Festool Guide Rail, OF 1400 Router, and the Guide Stop accessory made absolutely smooth, perfectly straight grooves.
|
|
Figure 2: Note the bottom and top left
side of the top assembly clamped
together in position for routing.
|
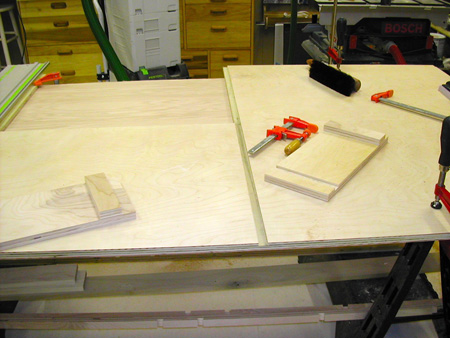
Figure 3: Dado in the bottom
piece of the top assembly and
its matching rabbet in the top.
|
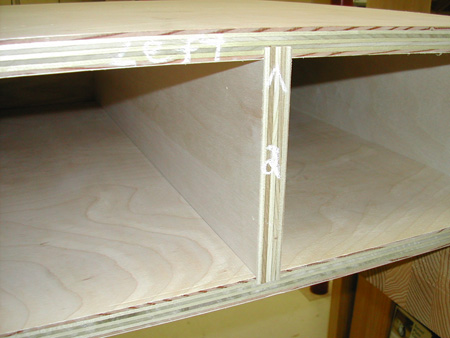
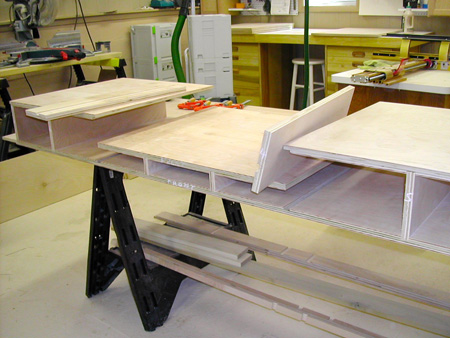
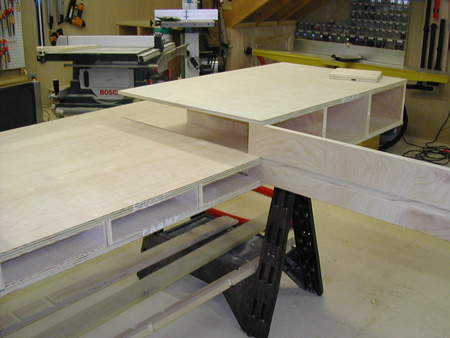
One of the most critical measurements in this entire design is the ultimate height (or recess) of the saw deck below the work support tables. The locations of the dados in the two vertical support pieces (parts E) on either side of the saw deck were marked after an initial dry assembly of the top. Then those pieces were routed (at the router table) and the dry assembly was checked again. This dry (no glue) assembly helped me be sure that the deck height was perfect. Perhaps even more importantly, I learned (and practiced) the order in which I would glue up all the parts.
|
Figure 4: The Festool router and Guide Rail assure tight-fitting dados.
Note that I ALWAYS use chalk to mark all pieces.
|
|
Figure 5 - Dry assembling the top allowed me to measure "in situ"
for the location of the dados in the sides of the vertical
support pieces that hold the saw deck.
|
|
|
Figure 6: Checking the fit of the side vertical support piece.
|
The glue-up went remarkably smoothly without even a hint of stress (unusual for me!). Of course, I could always use more clamps.
Next month the basic build of this project will get wrapped up and I will highlight some (hopefully!) interesting details. Both support pedestals will be built, the entire top gets covered in laminate and then routed for t-track. I'll show you how I cleanly cut the t-track and aluminum fence stock, the hardware used to fasten the top of the miter saw station to the pedestals, and how the saw is leveled and fastened to its deck. Drawer fitting, shelf building, and a new shelf pin drill guide will be demonstrated. Be sure to check back, 'cause I'm still noodling out the design for the dust collection!
(Page 1 of 3)
1
2
3
Next Page
Return to Wood News front page
