 by Steven D. Johnson
Racine, Wisconsin
(Page 2 of 5)
Previous Page
1
2
3
4
5
Next Page
More Bits & Pieces – Charging Off
Click on any picture to see a larger version.
|
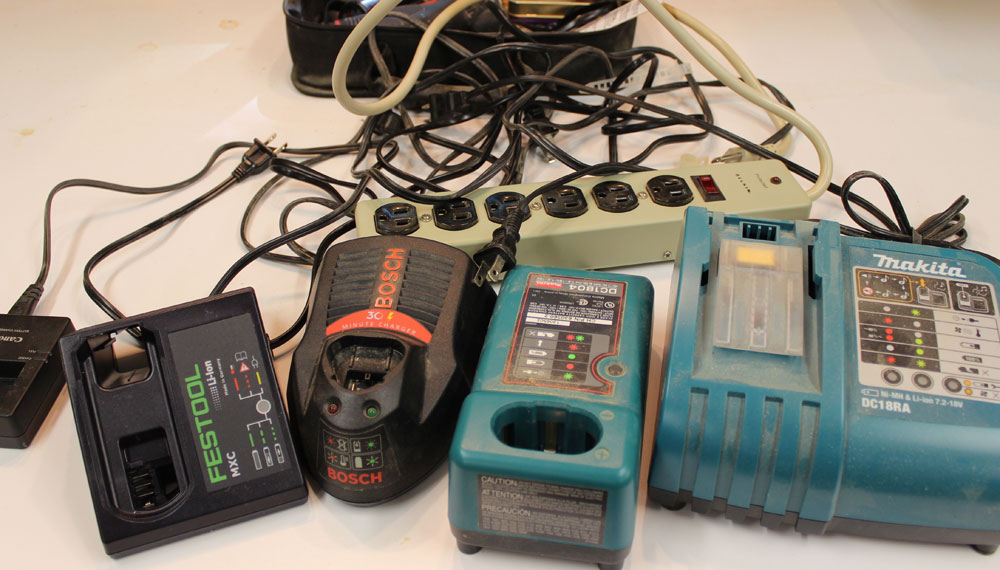
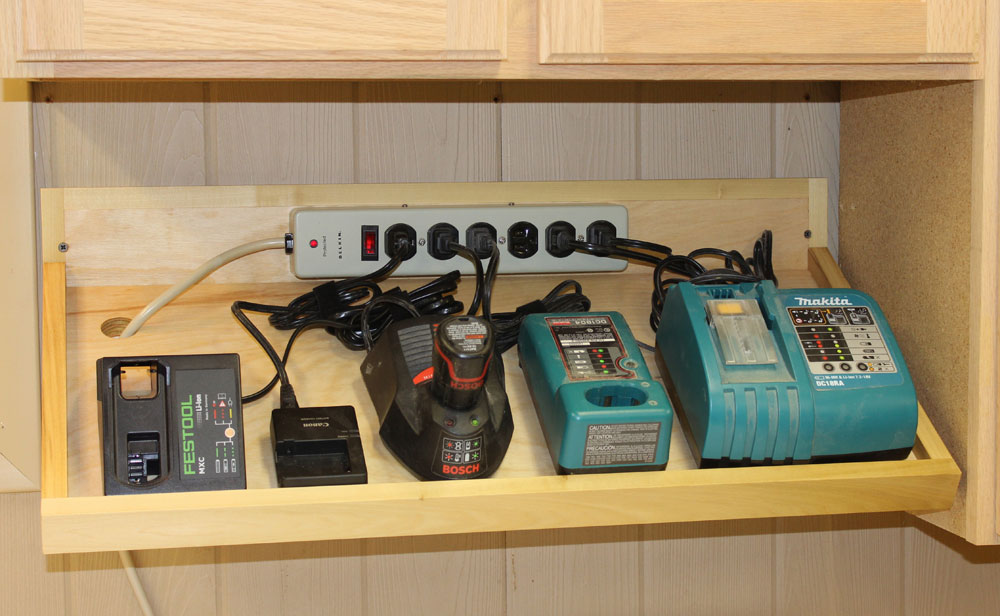
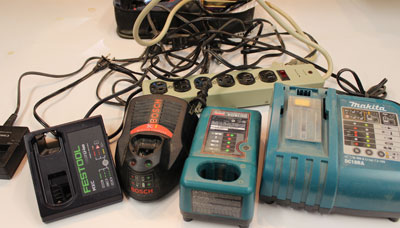
Figure 8 - A veritable "birds nest"
of chargers-what a mess!
|
Don't you love all the new battery-powered tools? Battery and motor technology is improving at a break-neck clip, and it seems almost like "retro" puffy shirt and knickers woodworking nowadays if we see a power drill with a cord. I think we can all envision a day when tangles of extension cords in the shop or on the job site will be a thing of the past. Still, there are trade-offs. And one of the most perplexing for me is that I seem to have replaced the tangle and hassle of extension cords for a new tangle and hassle of chargers and batteries scattered here, there, and everywhere.
Battery chargers seem never to be where I need them, they seem never to be close to a plug, and they seem always to be "in the way." Eyeing some pieces of plywood and poplar leftover from building the mobile sanding center, I decided to do something about it.
|
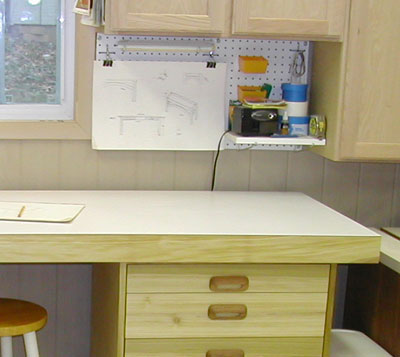
Figure 9 - This cubbyhole below the cabinets
looked like a good central place
to put all my battery chargers
|
There is a place on the wall, above an electrical outlet, under some wall cabinets, and out of the way, that seemed just right for a shelf to organize and store all my various chargers. I measured the spot, lined up all my charging equipment, took a couple more measurements, and got to work. If you build a "charging station" for your shop, size it for the space available and the chargers you have, keeping in mind that battery and charger technology improves, so you may well soon be adding to your collection or replacing certain equipment for the latest and greatest.

|
|
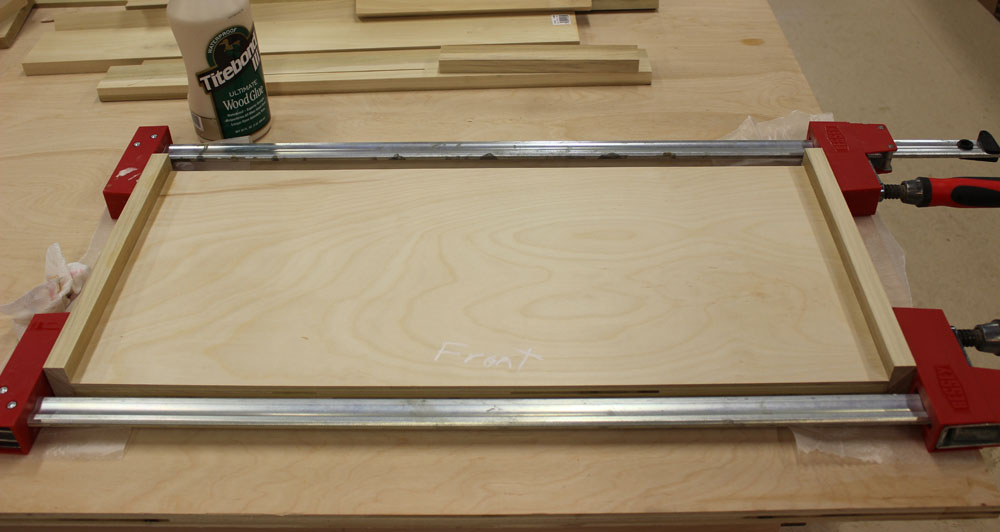
Figure 10 - Trim pieces glued to the ends
of the shelf and note that pieces are
flush to the front, overly long in the back
|
Figure 11 - Shelf back with edging
applied to one long side
|
The charging station I built consists of two main parts, an angled shelf attached to a shelf back. Start by cutting the shelf to finished size minus the trim… mine was 12-1/4" wide by 27-1/2" long. Then apply trim 3/4" thick by 1-1/2" wide, to the two ends, making sure the edging is flush to what will be the "front" of the shelf and flush to the bottom of the plywood board. If the backside pieces are a little overly long, that is perfectly okay – they will get trimmed flush.
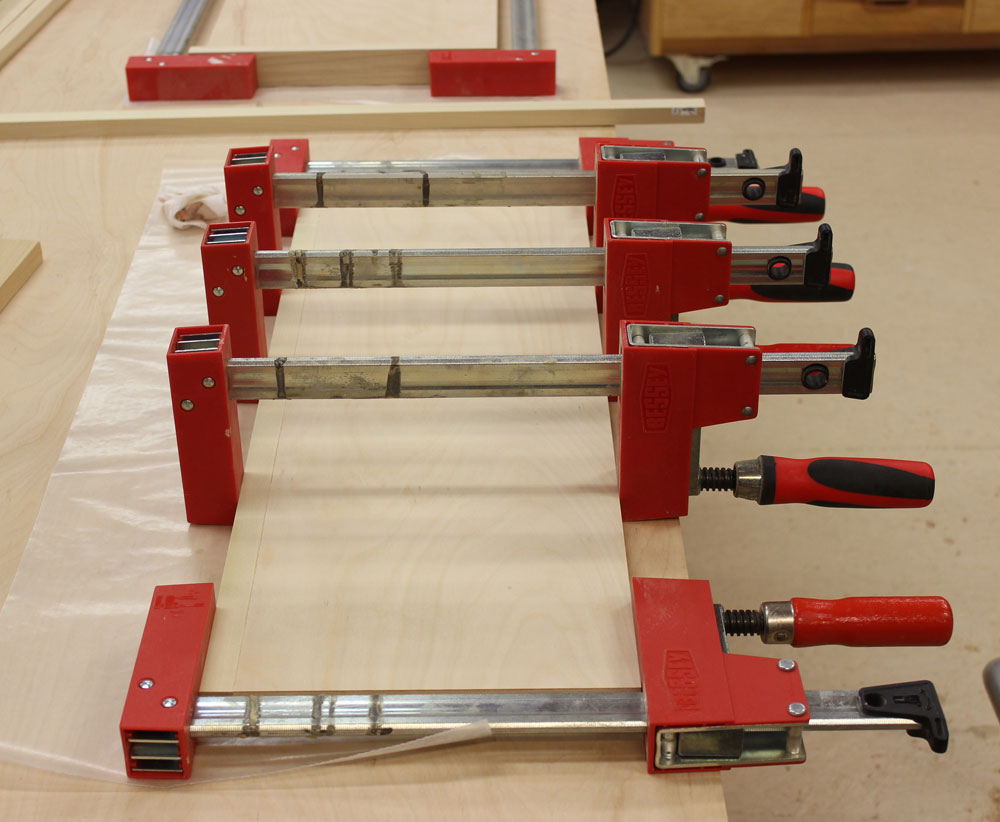
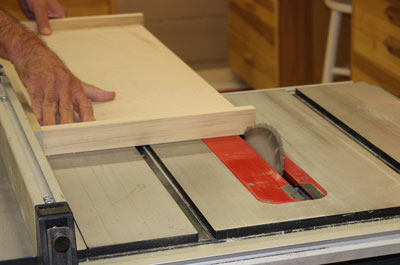
Next add the 3/4" X 1-1/2" trim edging to the front of the shelf. While all that is drying, cut another piece of plywood 9" wide by 27-1/2" long. This will be the shelf back. Apply flush edging to the two short ends and one of the long edges of this piece. A good way to cut trim to fit your plywood perfectly is to use a piece of the plywood to set the rip fence on your table saw (see photo).

|
|
Figure 12 - Adjust table saw fence until the plywood just fits,
then the trim rip will be perfect
|
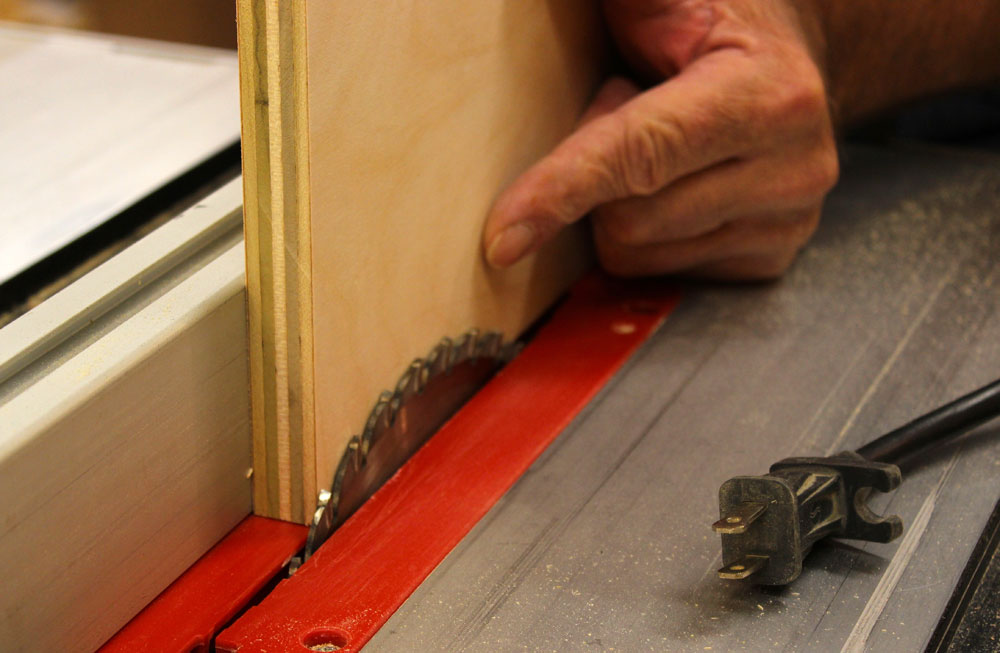
Figure 13 - Rip the back of the shelf at a 30-degree angle
... the trim pieces will be absolutely flush
|
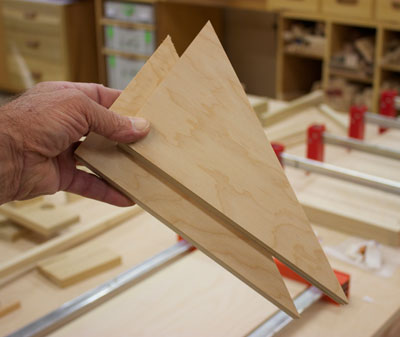
By now the edging on the shelf should be dry enough, so adjust your table saw fence and blade angle and rip off the back of the shelf at a 30-degree angle. Cut two plywood shelf braces at 30-degrees. The shortest edge of the triangle should be 5-1/2" long, its adjacent 90-degree neighboring leg will be 9-1/2" long, and the angled part of the triangle will be 10-7/8" long.
|
Figure 14 - Shelf brackets made from
small scraps of 3/4" plywood
|
On the shelf back, measure and draw a line across at exactly 4-1/4" from the top. This is the locator line for the bottom edge of the shelf during assembly. Determine where you would like to place your multi-outlet strip, and predrill mounting holes. I chose a power outlet strip with a switch so at the end of a workday I can simply switch off the entire strip and no chargers will be surreptitiously draining expensive AC power (see the June 2013 issue of Wood News Online, "Energy Saving Strategies For the Workshop").
|
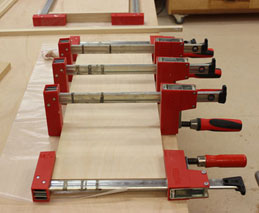
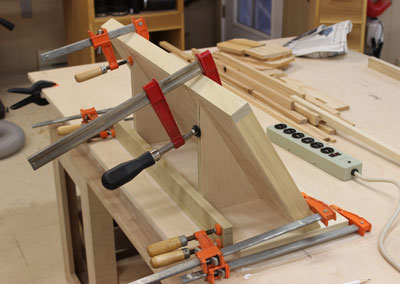
Figure 15 - A straight strip of wood
from the scrap pile clamped to the bottom
of the shelf back helps hold the brackets
in alignment during glue-up
|
Now is also a good time to drill a hole through which you can feed the main AC power line. I also held the shelf back piece up to the wall, marked the stud locations, and predrilled and countersunk holes for the mounting screws.
With all that done, assembly of the shelf is easy – just layer on the glue and get to work. You may have to get a little creative with the clamping or use some brad nails to hold the thing together until the glue sets. A little sanding and a finish of your choice (or leave it natural) and you are ready to get all your charging equipment organized.
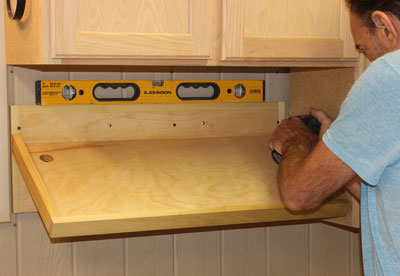
Even though the weight of the shelf, charging equipment, and batteries will not be excessive, it is best to mount the shelf to wall studs. You could also drill a couple of large holes in the top of the shelf back and hang the assembly from peg hooks or mount a beveled board to the back if you use French cleats in your shop.
To cut down on the "birds nest" look I cut six-inch strips of Velcro and wrapped all the cords.
|

|
Figure 16 - Sturdy and level are the key words here.
Pre-drill and countersink holes and use 2" long
drywall screws if mounting to a stud wall.
|
Figure 17 - Neat & organized... and it is easy to grab
a charger to go when you need to do a job off-site
|
This project took only a few minutes, a few scraps, and a little imagination and now my shop is cleaner, better organized, and more efficient.
(Page 2 of 5)
Previous Page
1
2
3
4
5
Next Page
Return to
Wood News
front page