by Steven D. Johnson
Racine, Wisconsin
(Page 4 of 4)
Previous Page
1
2
3
4
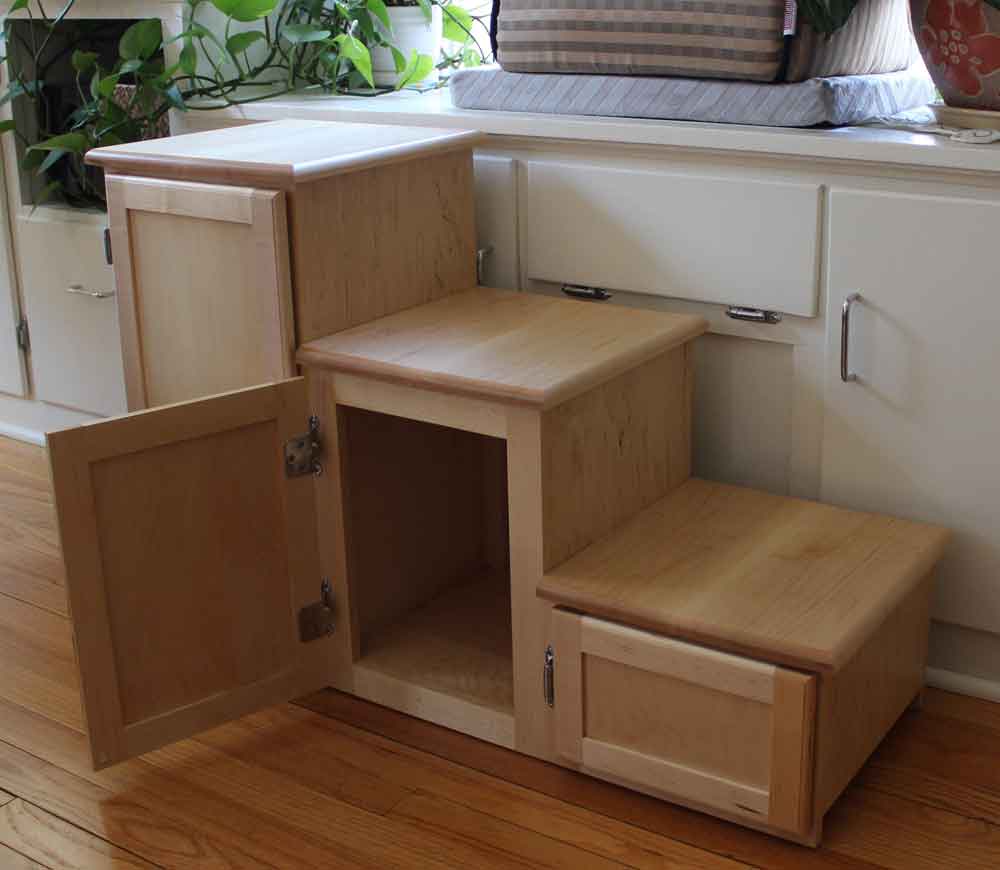
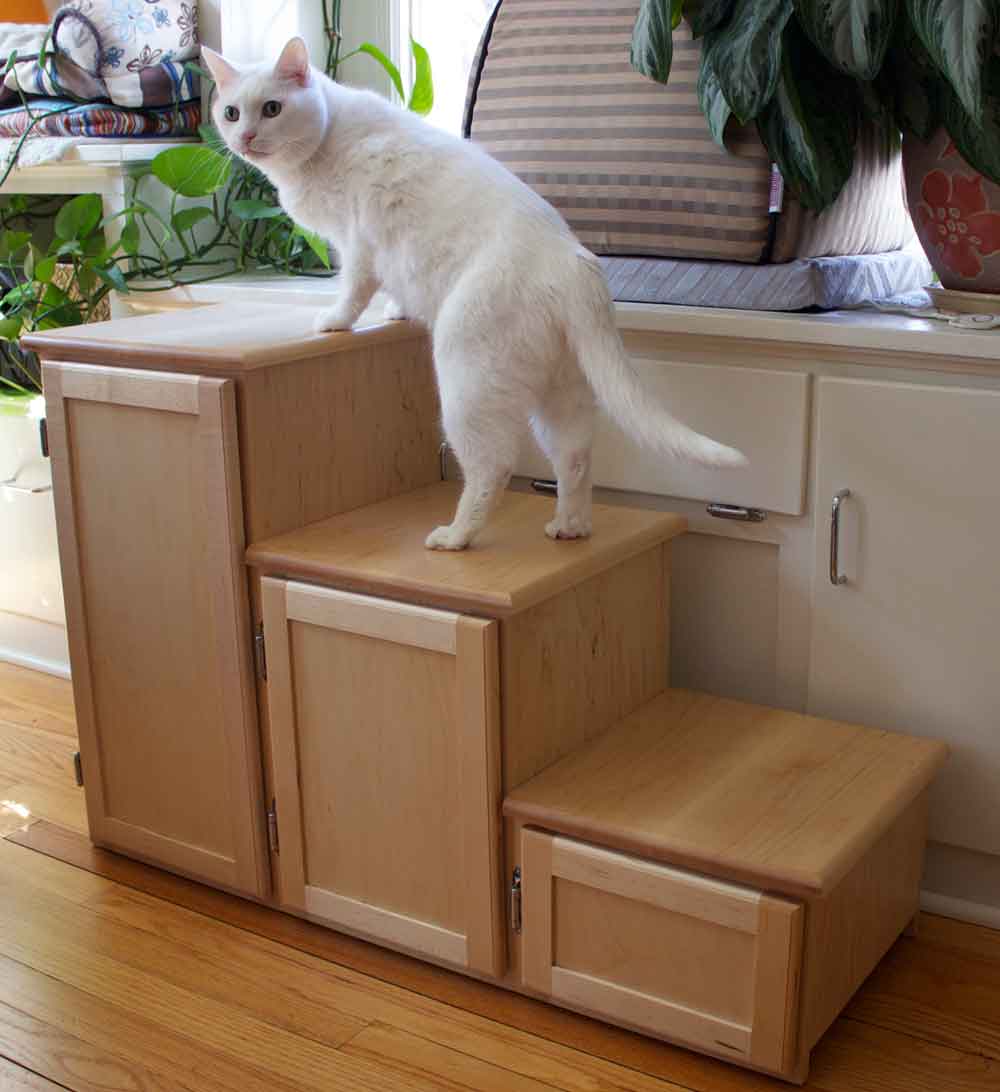
Pet Steps – An Exercise In Scale
Click on any picture to see a larger version.
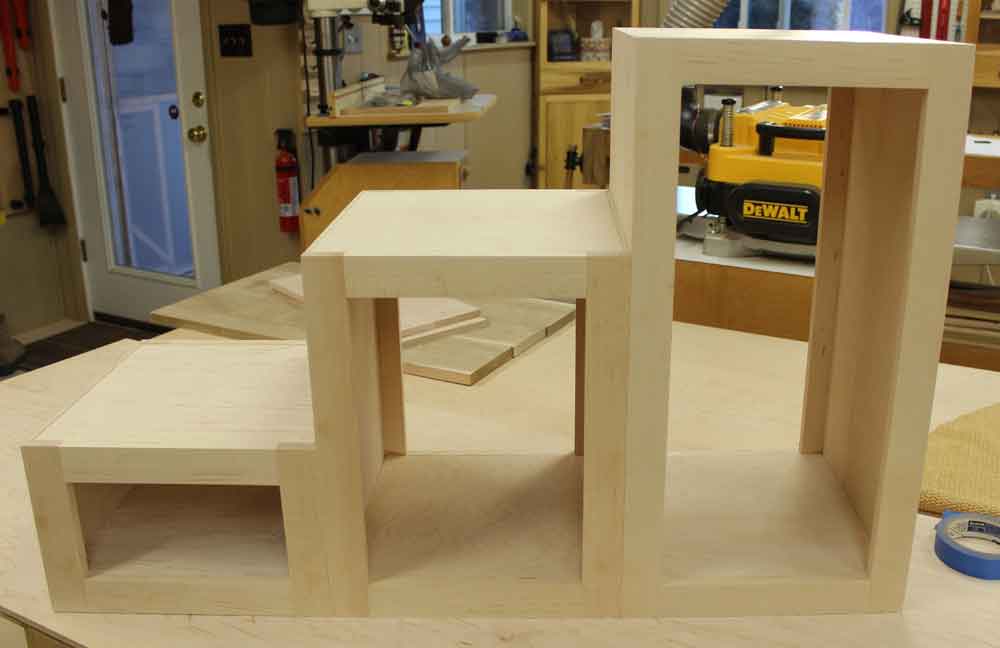
I have built so many kitchen cabinets over the years I can do it without much thought. There have been some incremental changes in tools and techniques, but the basic dimensions and proportions haven't changed much at all. When a set of pet steps finally got to the top of the honey-do list, it seemed logical to simply build them like upper cabinets for a kitchen. Three boxes, in graduating height, joined together to form a stair step design. A face frame and door on each box would provide some much needed additional storage, plywood sides would make it quick, pretty hardwood face frames would make it "inside-the-house" acceptable.
|
|
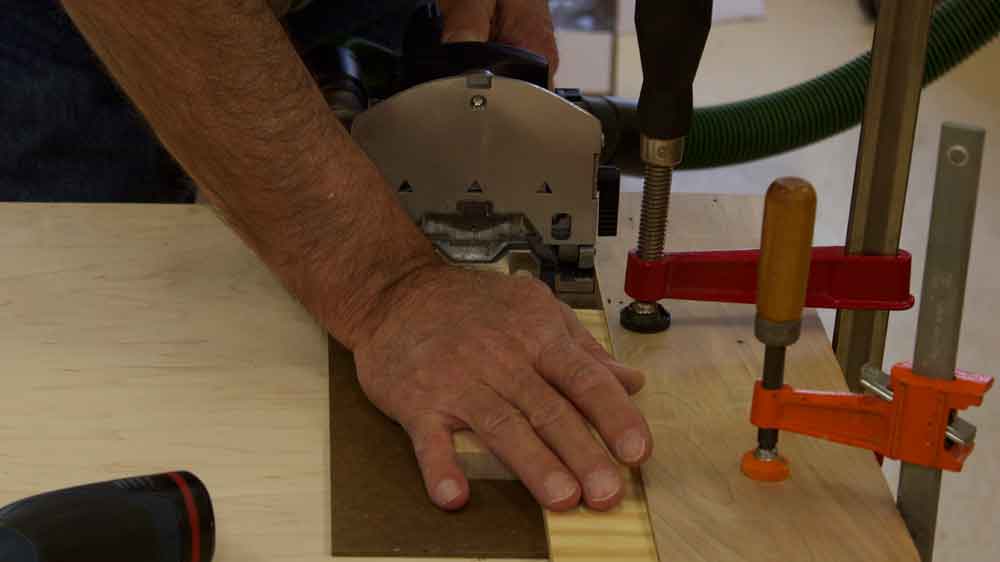
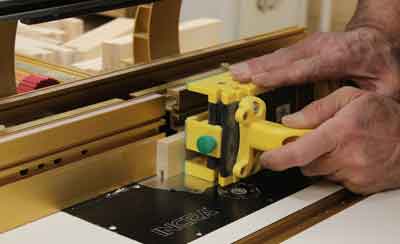
Figure 7 - A piece of 1/8" hardboard under the stiles was just
right to get the Domino positioned dead center
|
Figure 8 - Another quick jig made sure Domino mortises
were correctly positioned in each rail
|
But when I started to sketch out the design, it looked chunky and funky. Typical ?" thick 2-1/4" wide rails and stiles were too big and ?" plywood looked too bulky. Making this project look good would require scaling sizes back a bit to fit the project.
|
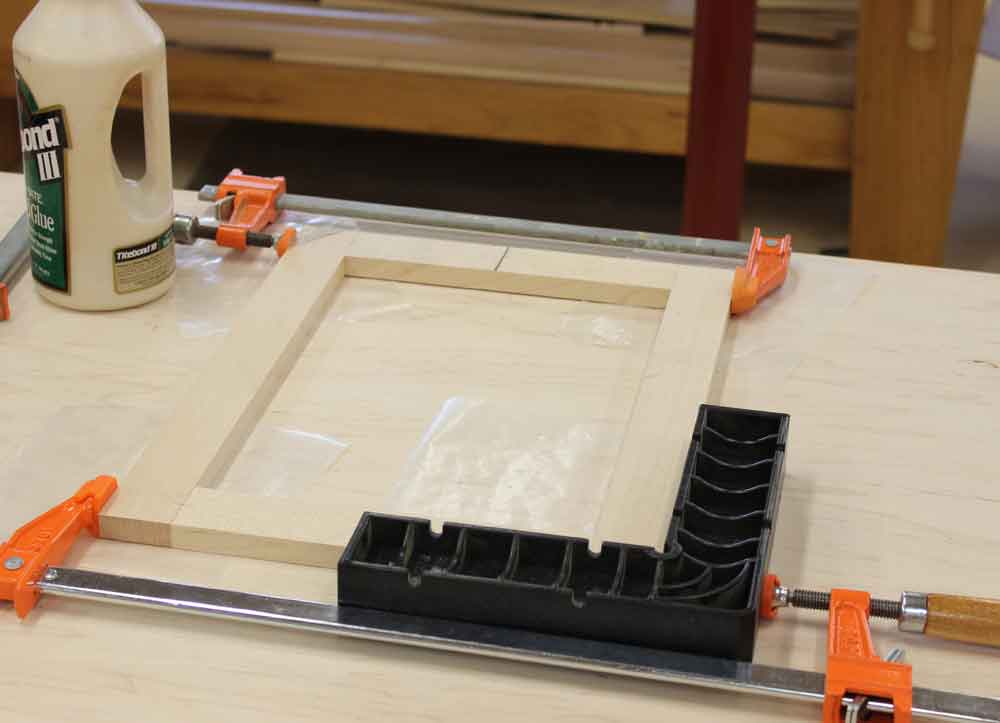
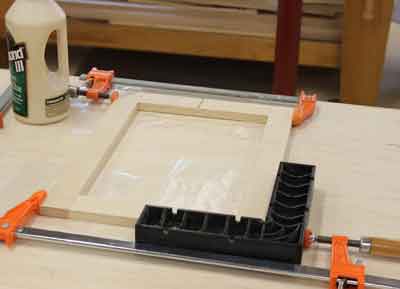
Figure 9 - Face frame glue-ups are easy with
Domino joinery... a couple of clamps and a corner
square is all you need
|
A while back a reader sent me a small stack of thin maple stock to try, and it looked perfect for this scaled-down cabinet project. The stock was all quarter-sawn, 9/16" thick, dry and flat. I decided to use ?" (nominal) maple plywood for the carcase sides, build the face frame first with rails and stiles just 1-1/2" wide, and then size the doors accordingly. The sketch was starting to look better.
|
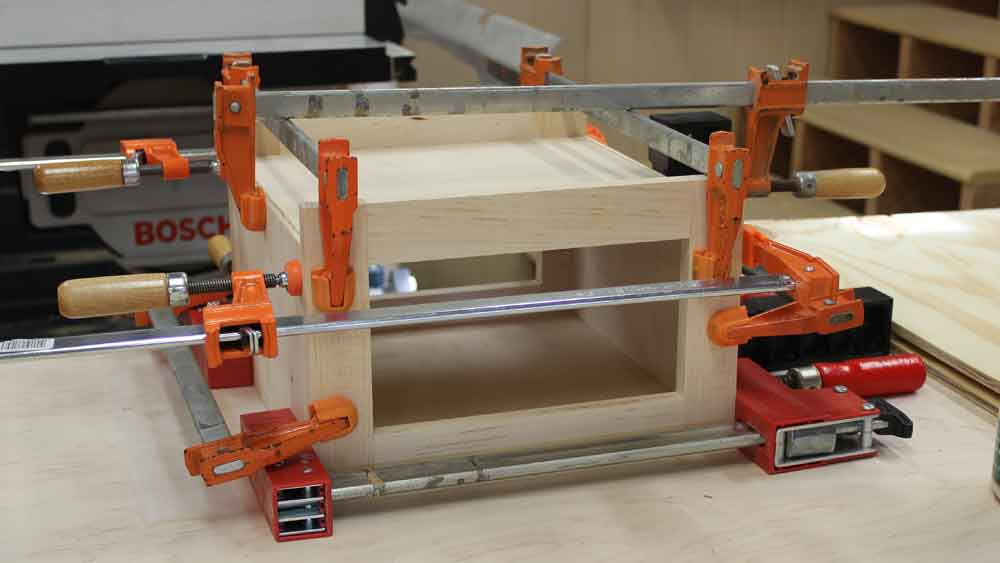
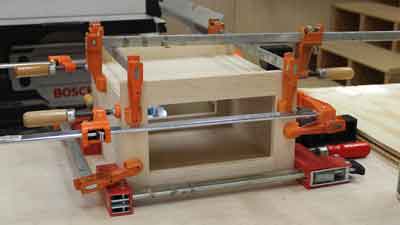
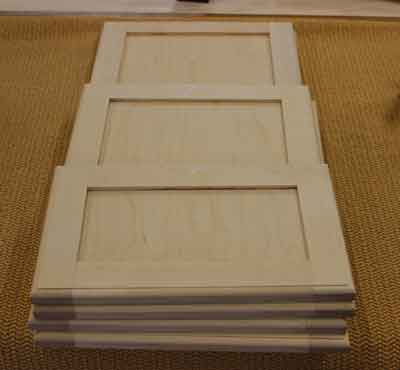
Figure 10 - The assembled face frame and box
parts were glued up together, the face frames
assuring the box was square
|
In order that the stairs might be used in any orientation, I decided to make face frames and doors for both sides of each box. I jointed the stock, ripped it to width, then joined the face frames at the corners with Festool Dominos.
|
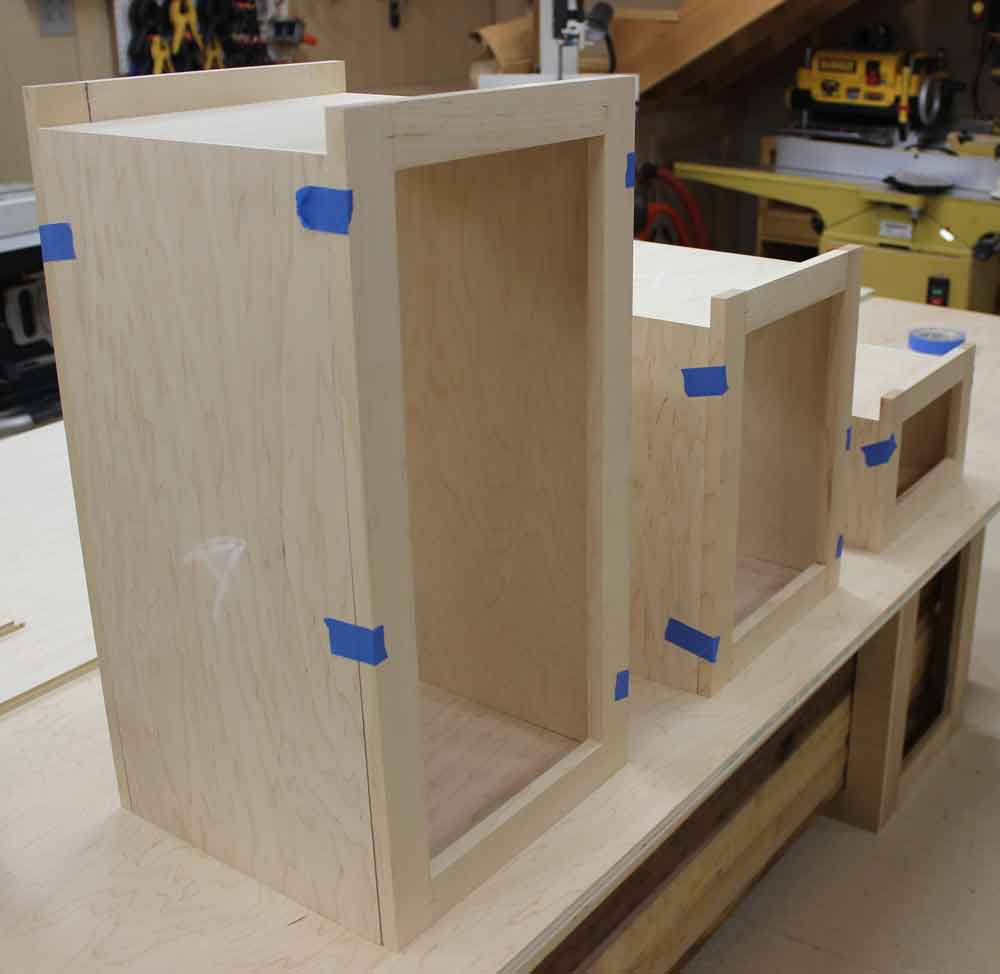
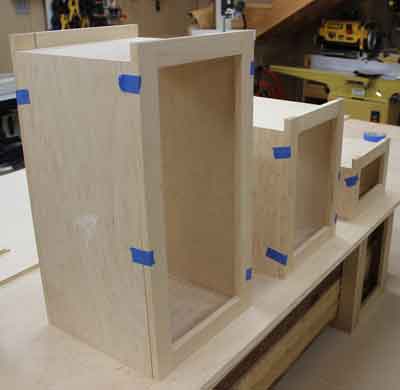
Figure 11 - Mock up the carcase and
face frames with painter's tape. These
are upside down - note how the tops
are now flush
|
Then I measured from the inside edge of the bottom of each face frame pair to the top edge and added ?".
|
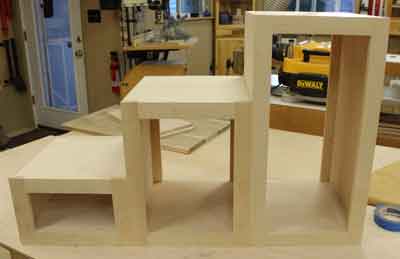
Figure 12 - Assembly done,
ready for doors
|
This became the height dimension of each plywood carcase. The width was made exactly the same as each face frame pair. This methodology assured that the "floor" of each cabinet would be even with the face frame.
The boxes were super simple. I ripped stock to width from a 4 X 8 sheet of plywood using the Festool TS-55 and Guide Rail, then cross cut the pieces to size on the miter saw. I cut a rabbet in each upright panel at the router table.
The boxes were glued up and the face frames added at the same time, because the face frames would assure the boxes were square. While those assemblies were drying I started prepping stock for the doors. Rails and stiles for the doors were cut from the same 9/16" thick stock, but were made 1-3/8" wide. Expediency led me to some 7/32" thick maple plywood scrap for door inserts. I cut the Festool Domino mortises in the rail and stile stock, then marked the locations of the rails carefully and routed stopped grooves in the stiles. The grooves in the rails run full length.
Since plywood panels will not shrink or expand appreciably in doors this size, I glued the panels in as I glued up the rails and stiles on the doors. I used a 90-degree brace during assembly to further assure the doors were square.

|
|
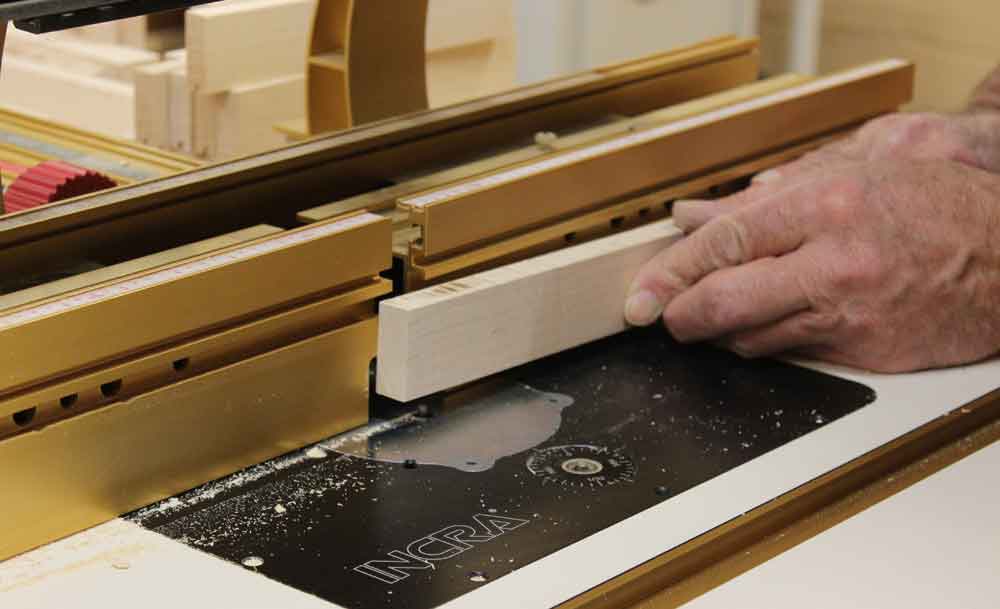
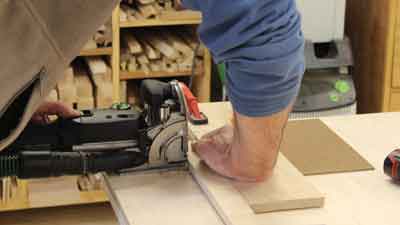
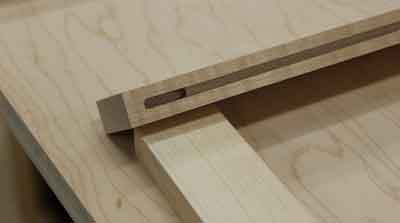
Figure 13 - Carefully lower the stile onto the spinning bit to
cut the stopped groove. Positions marked on the stile show
where to stop and start the groove
|
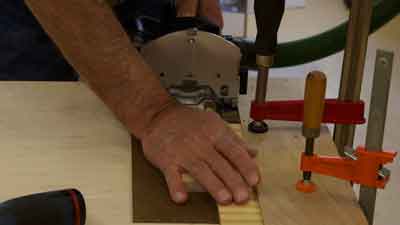
Figure 14 - Grooves in the rails can be cut end to end.
Be sure to use a stop block since the spinning bit will be
exiting the back side of the cut
|
After the doors were dry, I routed a small profile along all the edges and set the doors aside. The last step was to make the decorative treads for each step. By this time I had used up all the free 9/16" stock. I found a piece of 8/4 maple, 8" wide and just long enough for the three treads. After truing one edge at the jointer, I hand planed one face flat and true and surfaced the opposite face in the planer. Then I resawed the board in half.
|
|
Figure 15 - Note the Domino mortise precisely aligned
with the door panel groove
|
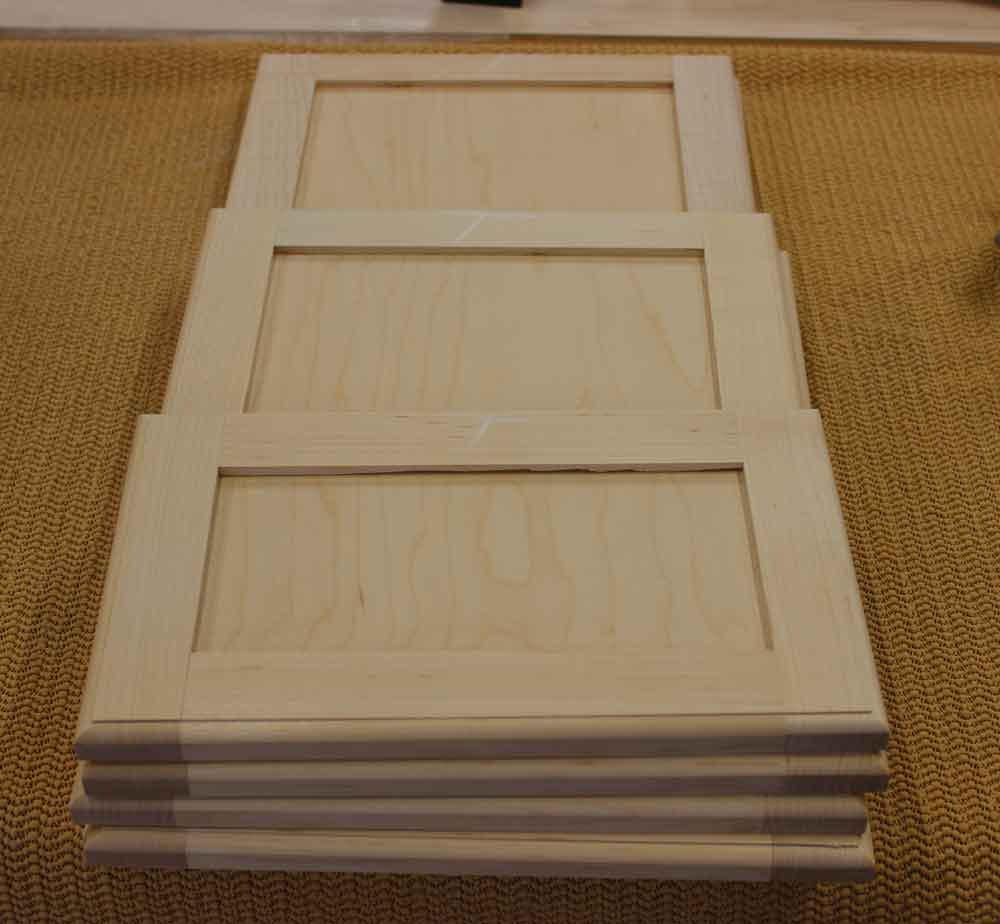
Figure 16 - Note the tearout in the top
rail of the smallest door. I positioned
this rail at the top of the door to hide
it, and filled it with maple-colored
filler before finishing... oops!
|
A quick side note here…
Recently a reader and video watcher wrote and said he had seen my Rikon 14" band saw in the background on a video and wanted to know if I liked it and how it compared to other 14" saws. I replied to his question at the time, but since the opportunity presented itself, I tried a little experiment… I had some excess thickness to play with on the 8/4 board, so I set a marking gauge for dead-center of the edge of the piece, then backed it off 1/32". I then made two parallel lines the length (about 44"). I set the fence on the Rikon so the Highland Woodslicer blade was between the two marks. I then shoved the piece through without any drift compensation or "finagling." The blade sliced dead center between the two marks. When I "unfolded" the two pieces and took them to the planer, it took only two passes on each piece to yield perfect book matched pieces. It could be the WoodSlicer, it could be the Rikon; but between the two, I have never had a sweeter resawing machine.

|
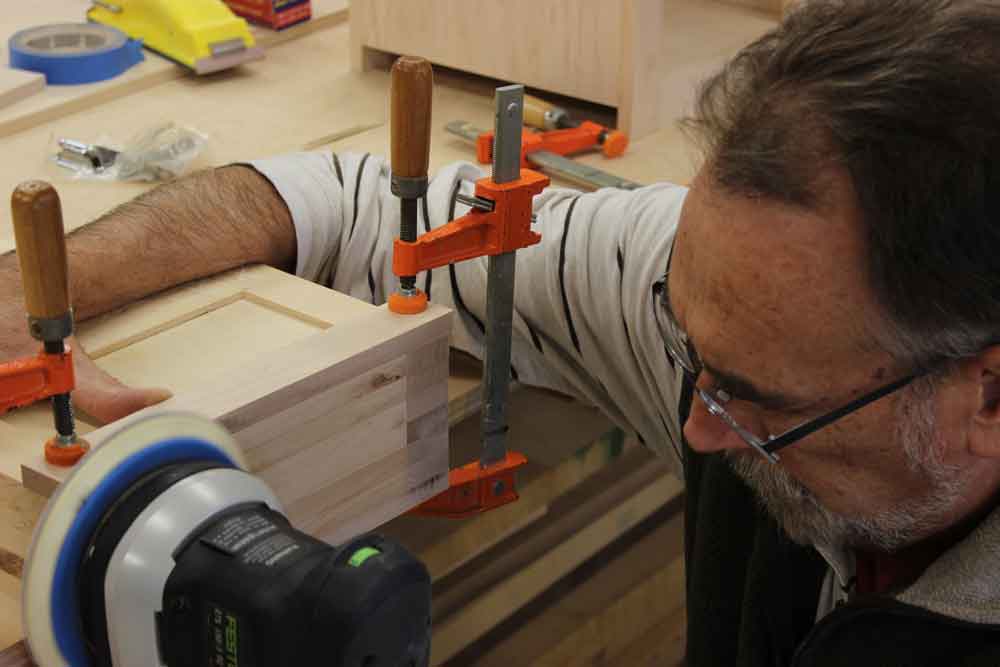
Figure 17 – Formula: Hard maple + lousy table saw
+ dirty blade = burn marks. A great way to sand edges is to
gang them up with a sacrificial piece on top and bottom and
sand them all at once.
|
The two book matched pieces were edge glued together, and when dry, the stair treads were cut to size. I then used a ?" roundover bit on three sides of two of the treads and on all four sides of the top tread. The flat flush sides on the first two treads were butted up to the riser ahead of it on the first two steps.
Mounting the stair treads was pretty easy. Because of seasonal wood movement I decided to use short screws from underneath, through oversize holes in the carcase. The only challenge was chamfering the holes so the screws would sit flush. The small Festool drill fit fine in all but the smallest cabinet. I had to countersink those holes by hand. If you build this project, drill the holes in the top pieces of plywood before assembling the boxes!
After a light sanding, a coat of shellac served as a sanding sealer, end grain compensator, and "flaw detector." Shellac is a wonderful first coat. It will raise the grain slightly and fill pores, it will seal end grain so that there is not as much color differential with the following finish coats, and it will highlight any flaws. It is easily sanded, and any little specks of glue or scratches in the wood can be fixed and a little dab of shellac in those areas will smooth things out.
Next I wiped on a few coats of General Finishes' Seal-A-Cell, an easy, durable, glossy finish that looks really good on maple. The final top coats were also a General Finishes product, Arm-R-Seal in satin.
The pet-step project was fun and a real exercise and lesson in scale. So often I see beautiful craftsmanship that just doesn't quite look "right" because the scale of components is incongruous with the size of the piece… of course I've made this mistake many times, too. But, that is how we learn!
A pretty poor drawing accompanied by a pretty good cut list is available in the DTEW Highland Woodworking Library for free download. This project could also be used as a plant stand, a tiered chair side table, or even as a countertop or island appliance garage/storage module.
---------------------------------------
You've been asking, and we certainly listen… this month's video is a tour of the Down To Earth Woodworking shop. But this isn't just any old tour… the video also addresses how to use the principles of "5S" to conserve space, streamline your work, increase efficiency and safety, and make your shop time more fun! CLICK HERE to go to Part One of the video, and CLICK HERE to read the article "5S Your Workshop." Part two of the shop tour video will be released in a couple of weeks, be sure to check it out!
---------------------------------------
Next Month in The Down To Earth Woodworker I will get to the promised design criteria for two benches; one an outdoor bench befitting a woodworker and one a "shoe changing" bench suitable for an entryway or mud room. Also next month, "talking trees" and perhaps what will go down in history as the ultimate pallet wood project. See you next month!
(Page 4 of 4)
Previous Page
1
2
3
4
Steven Johnson is retired from an almost 30-year career selling medical equipment and
supplies, and now enjoys improving his shop, his skills, and his designs on a full time basis
(although he says home improvement projects and furniture building have been hobbies for most of his
adult life).
Steven can be reached directly via email at downtoearthwoodworks@me.com.
Return to Wood News front page